Configurations (for administrators)
The Configurations section is only available to Administrators. Here, they can manage export profiles and draft presets.
Export Profiles
Export profiles are used during the final part of the draft generation process. They define formats for the draft to ensure compatibility with specific CAD software or any printer, plotter, or cutting machine.
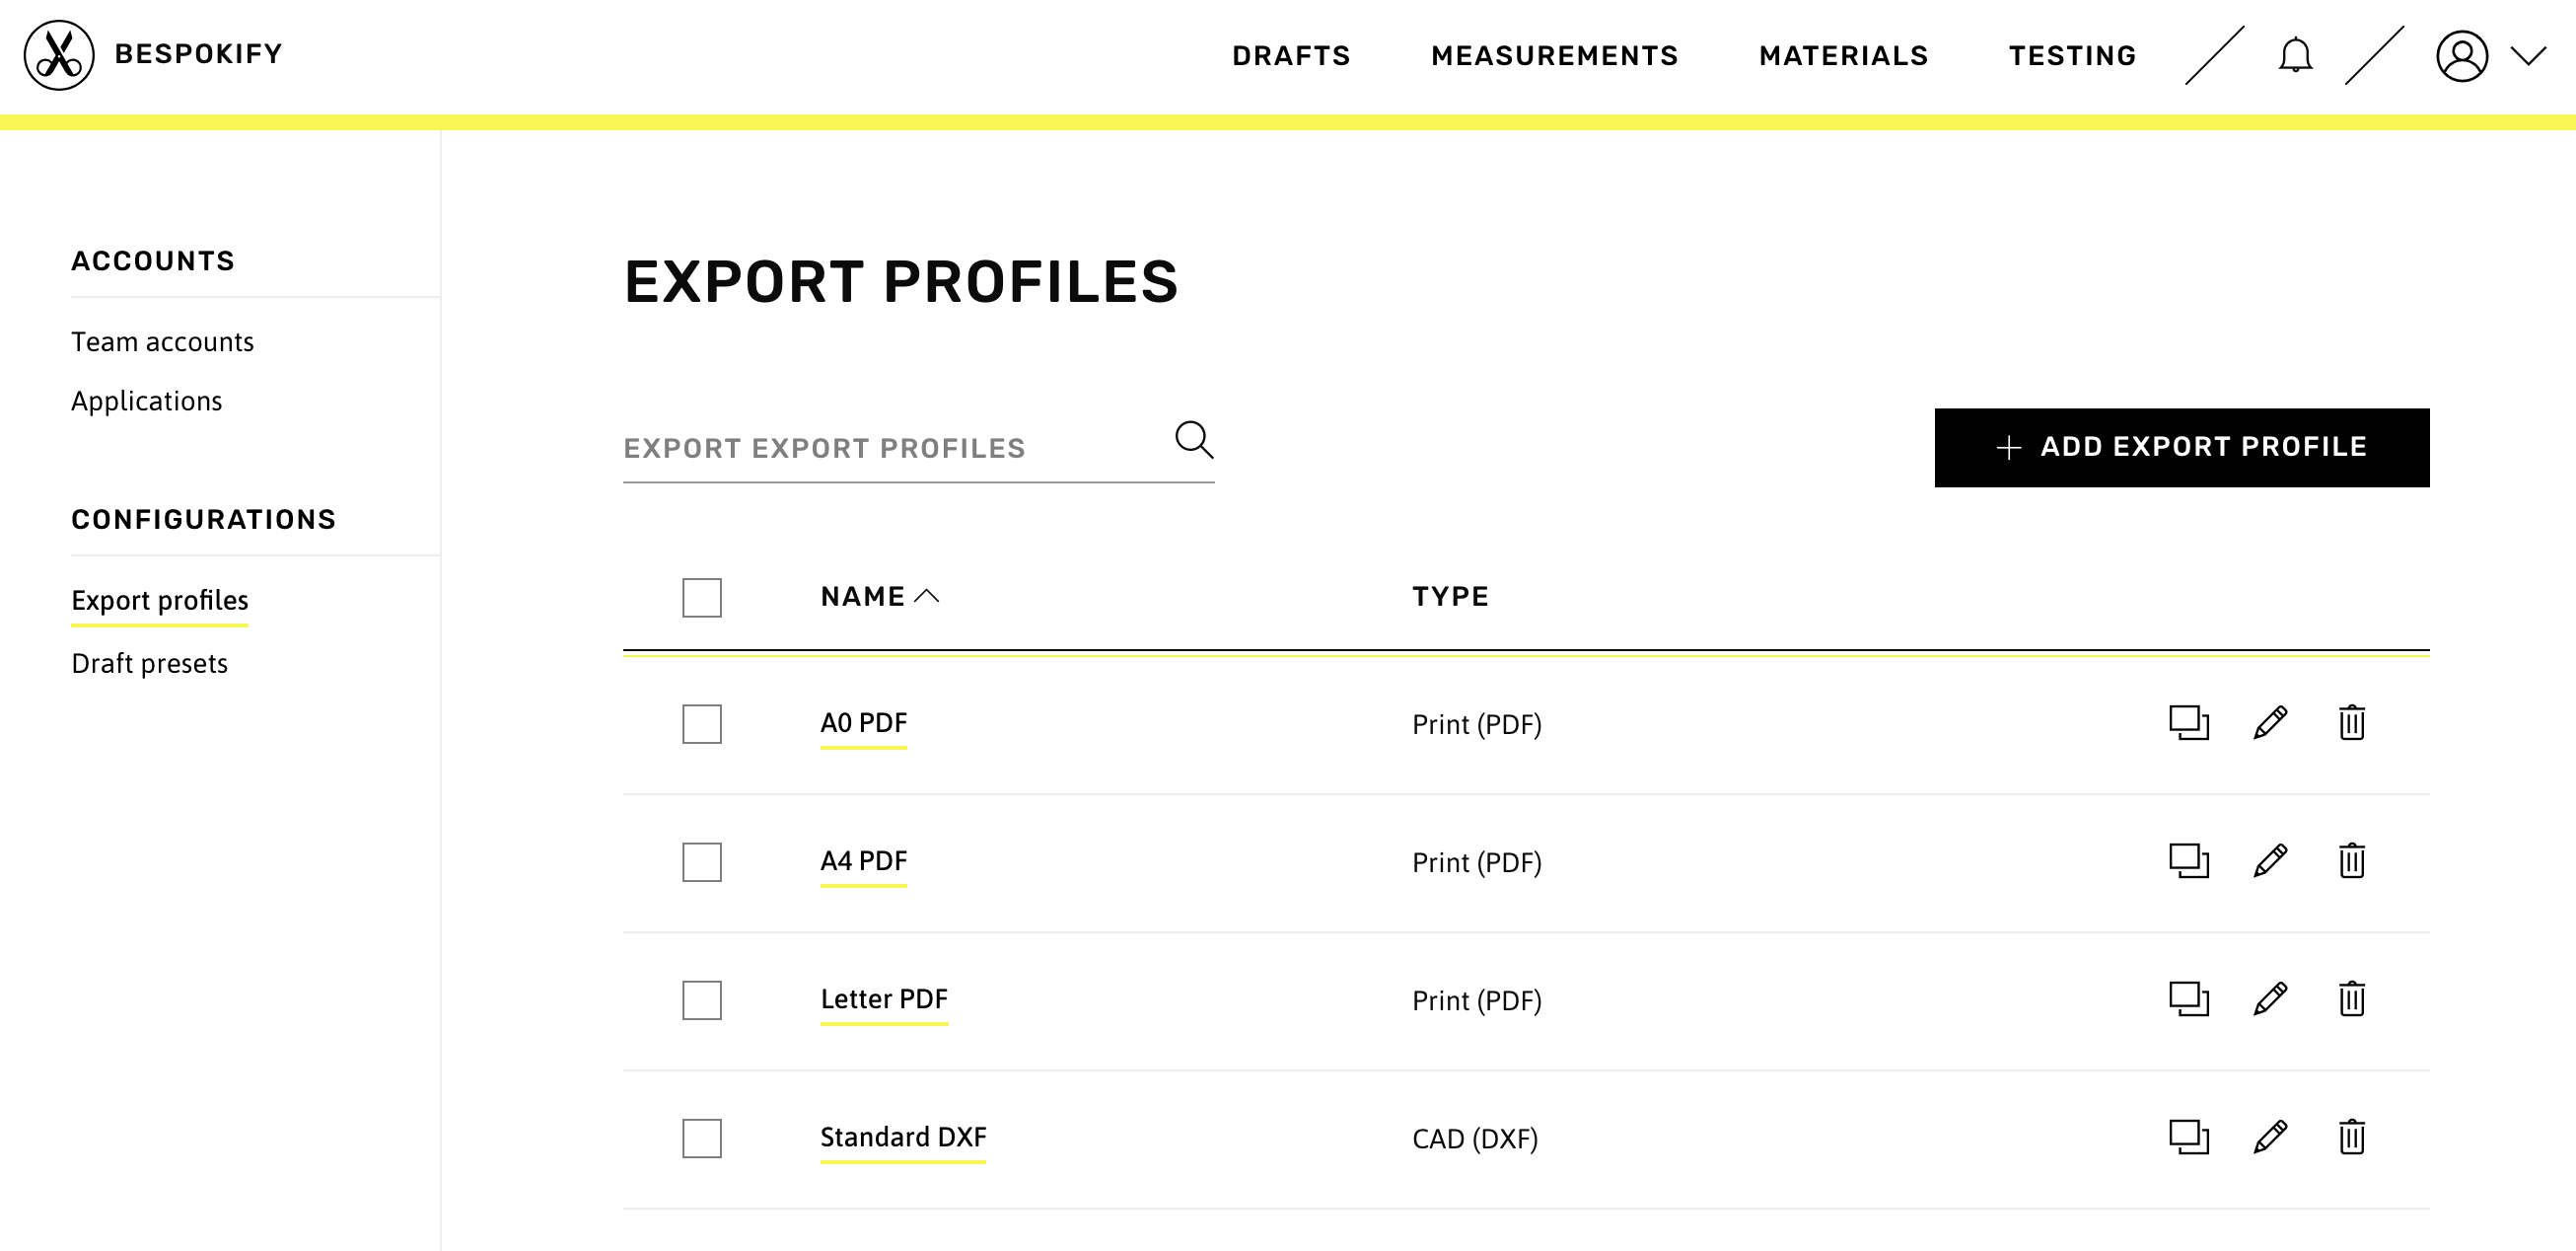
To create a new export profile, users must press the Add Export Profile button. The first step is to define the file type. This may be: a CAD file (DXF format), a PLT file for plotters, or a PDF file. The type of file will determine the fields seen in the File Configuration section.
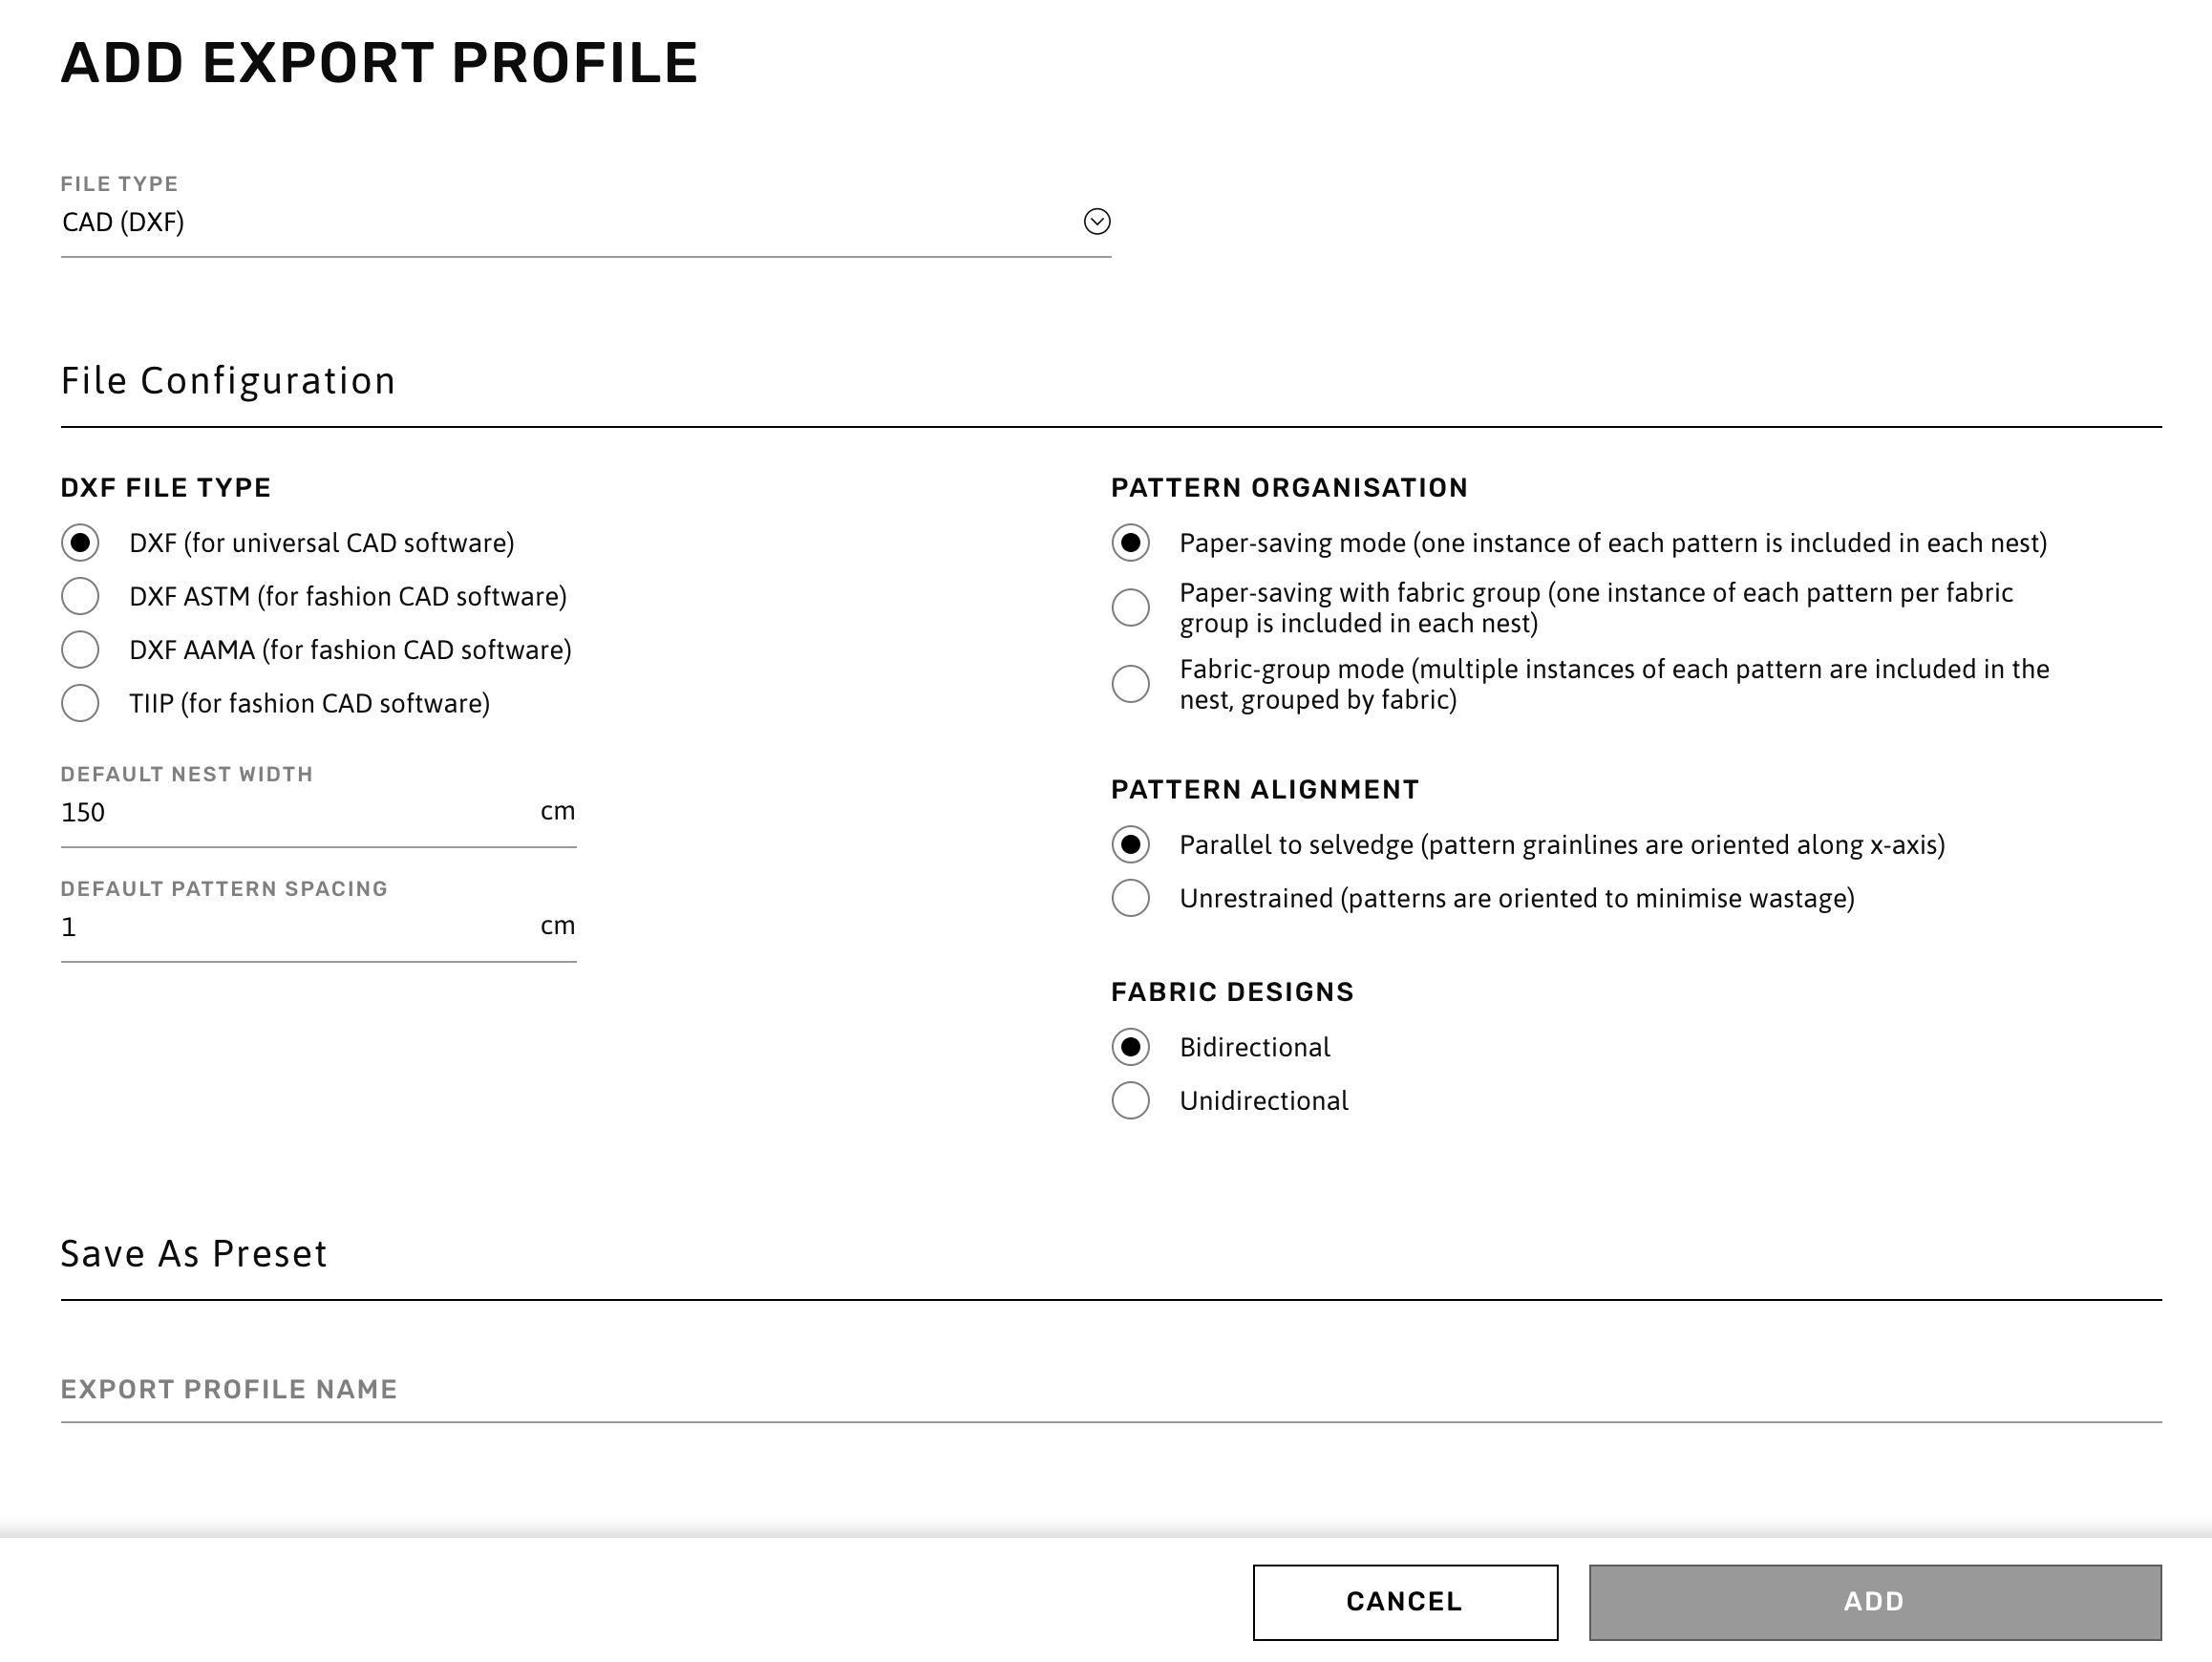
Users must select options for specific file type compatibility, nesting orientation, fabric design, and nesting mode. To understand more about nesting, visit the corresponding section under Adding New Materials.
The Pattern Organisation section has three options: Paper-saving mode, Paper-saving with fabric group, and Fabric-group mode. The first option overrides the Nesting settings defined for the Material and allows the user to select specific Pattern Alignment and Fabric Designs settings for the Export Profile. The other two fabric-group options simply use the Material's Nesting settings.
If the user selects the Print (PDF) file type, they must choose a paper size (A series or ANSI series). This will distribute the full pattern across multiple pages in a grid format so they can be pieced together later. This is useful if a full-sized plotter is not available and patterns need to be printed using a standard printer. If a plotter is available but only supports PDF formats, use the Paper roll size.
Once the profile is saved, it will be available as an export option in all Tech Packs.
Draft Presets
Draft presets allow users to create pre-selected configurations of their pattern libraries. This saves enormous amounts of time when generating drafts, especially when the same style has to be generated for different measurement profiles. These presets can also be selected to filter fields when adding or editing measurement profiles.
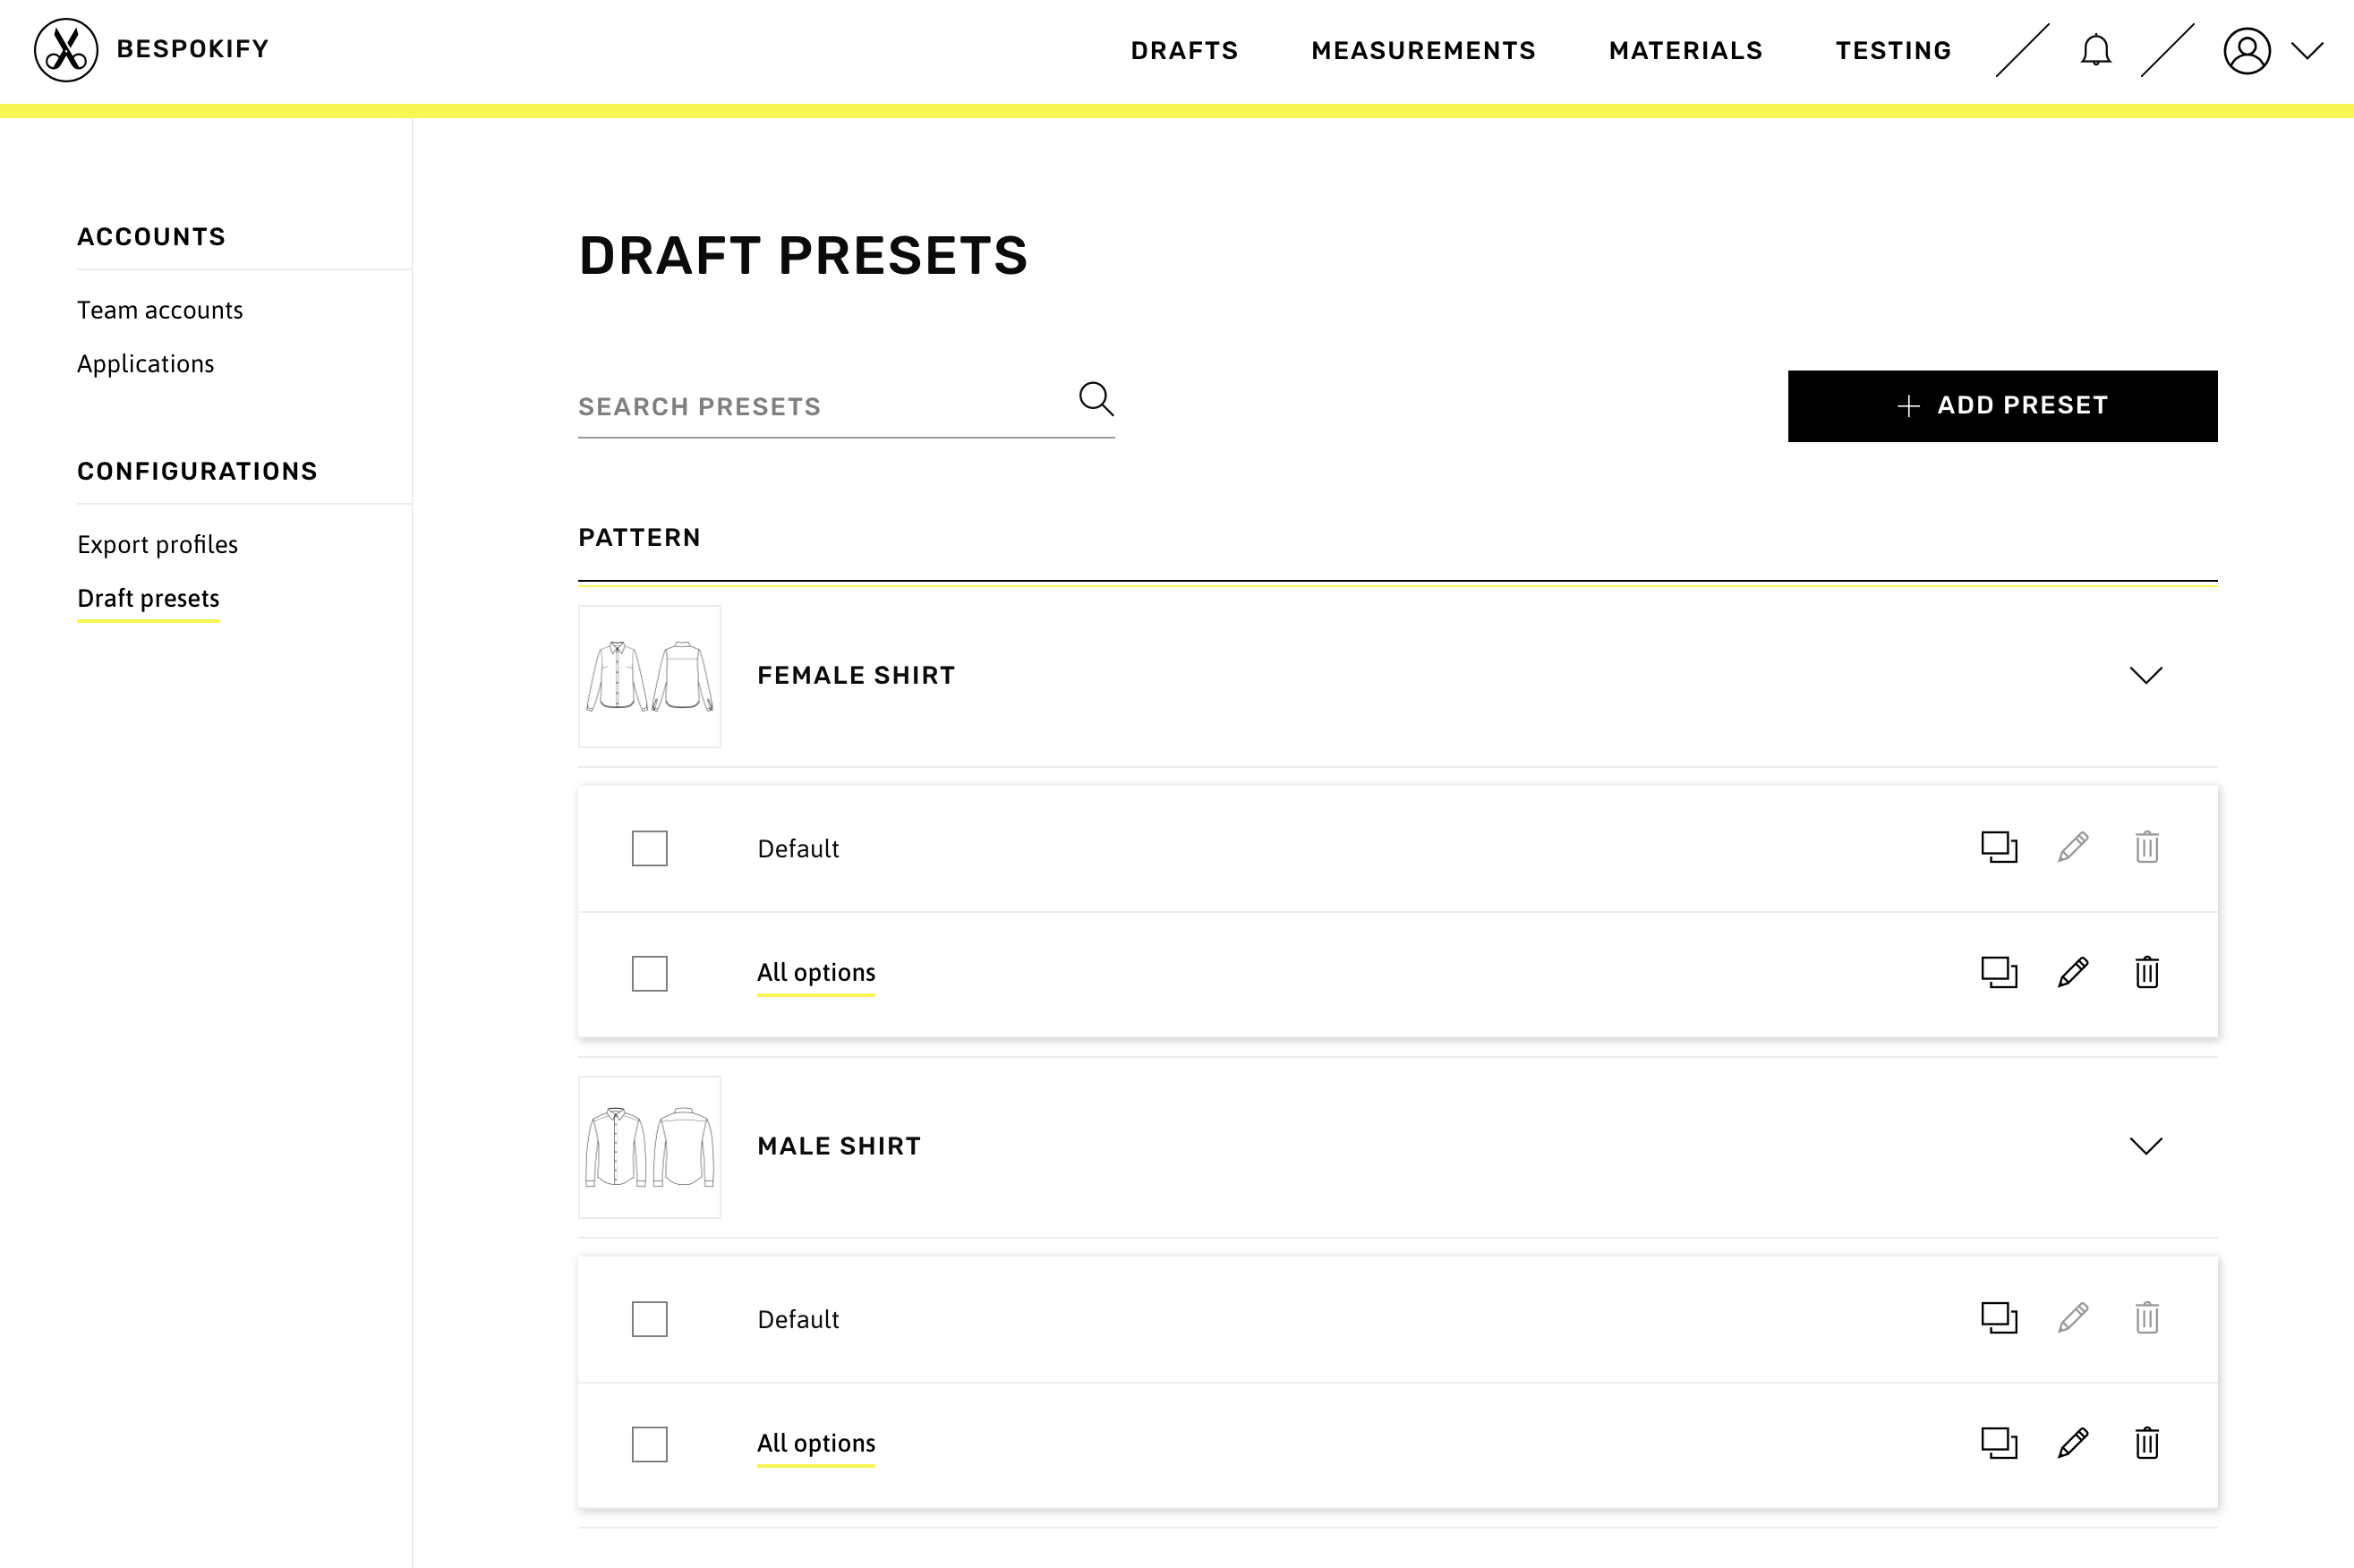
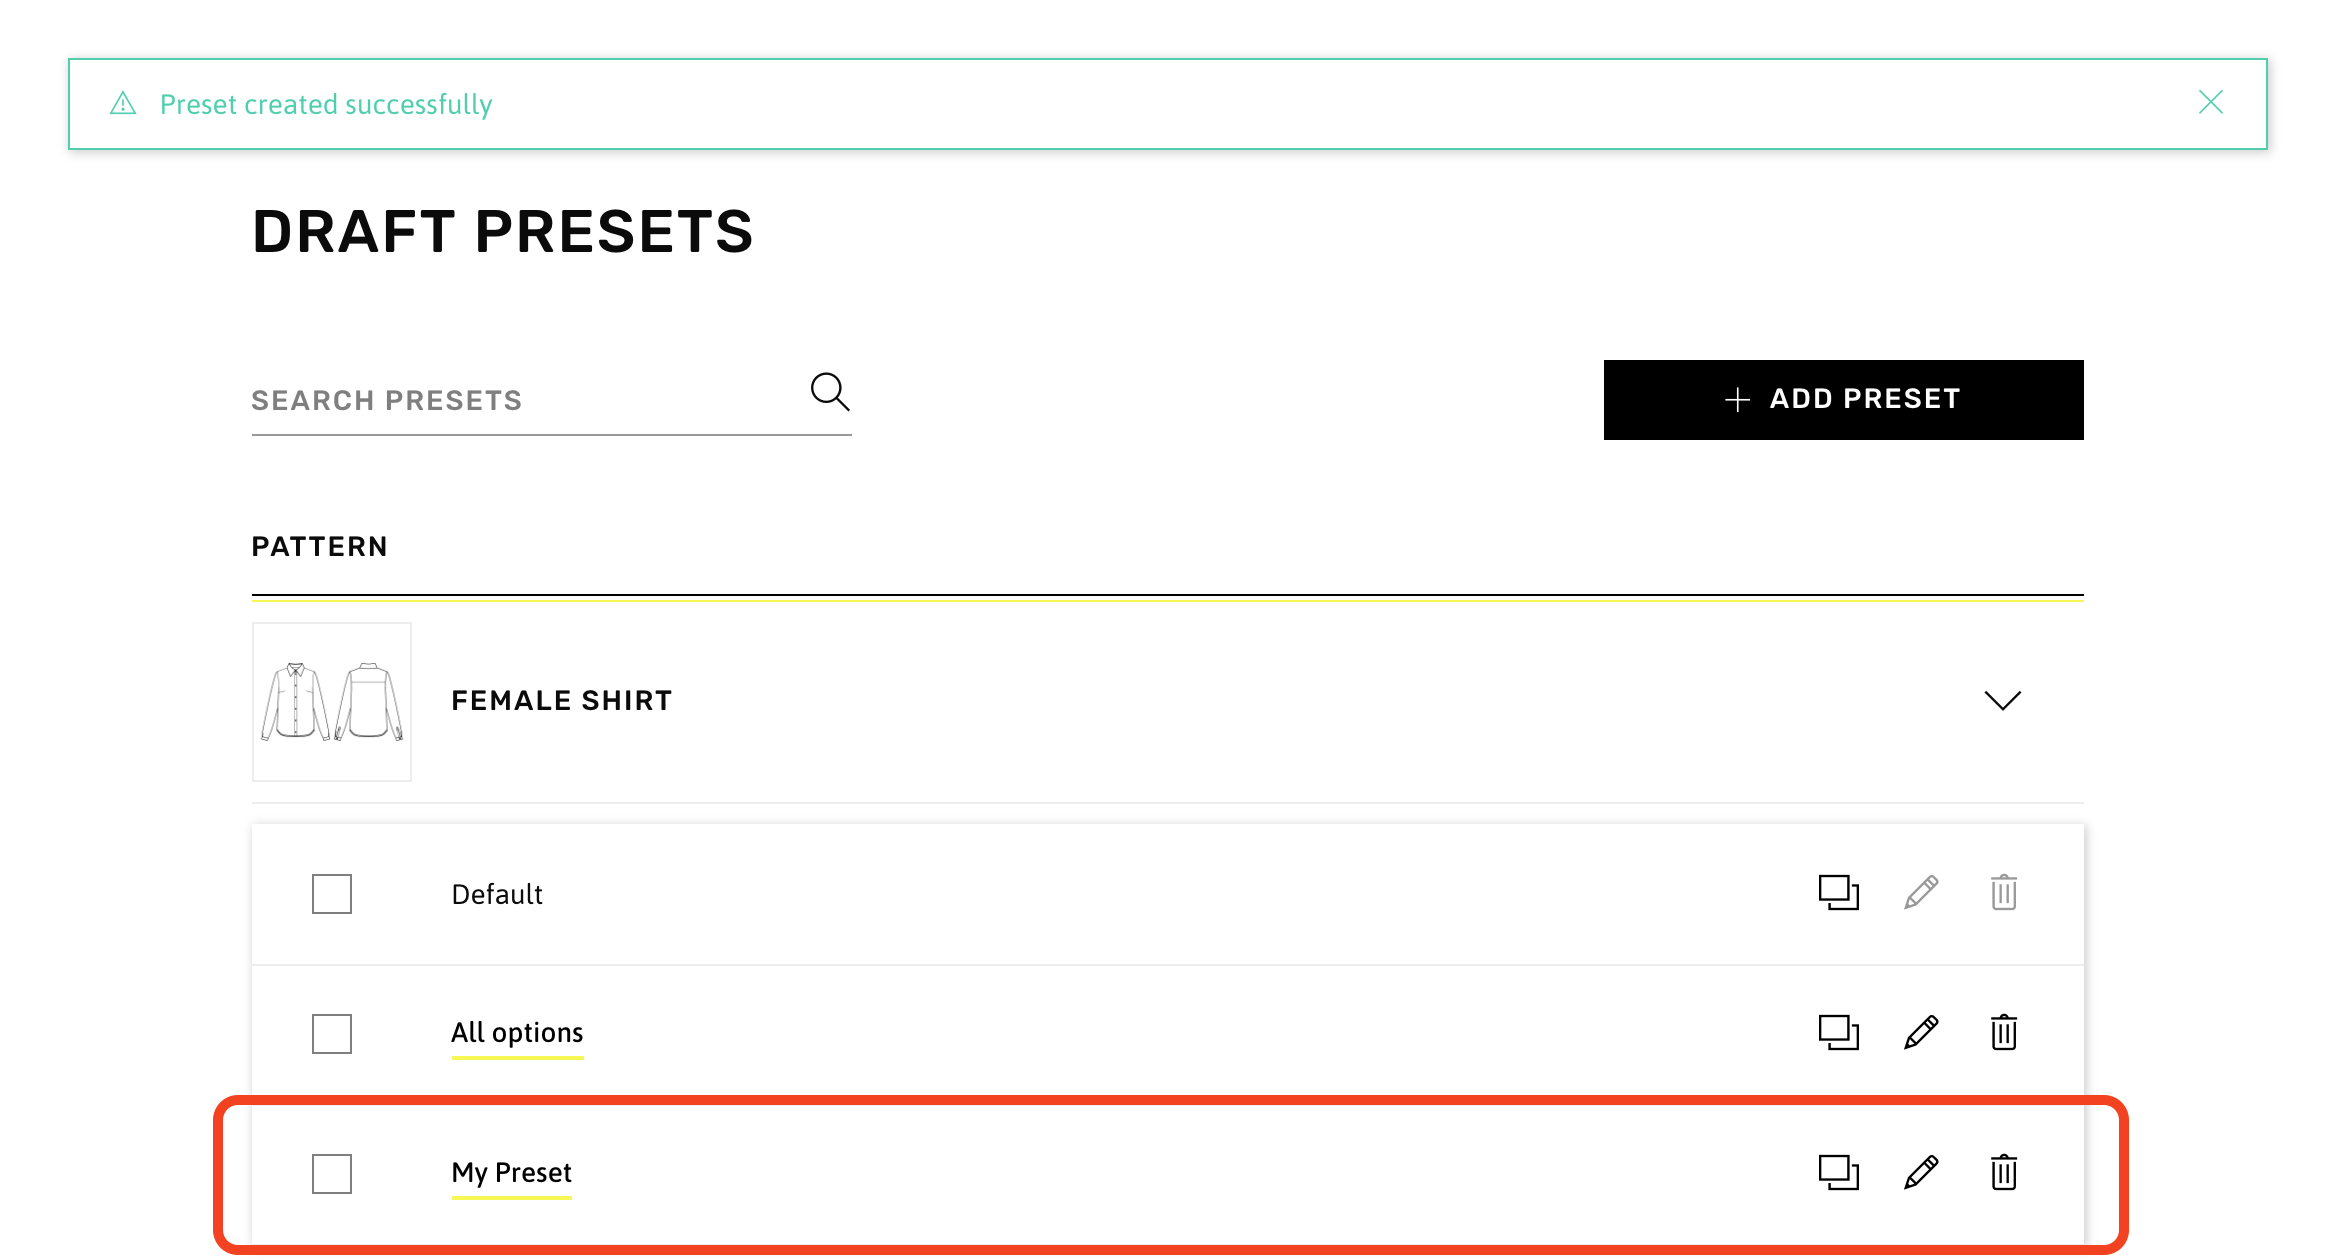
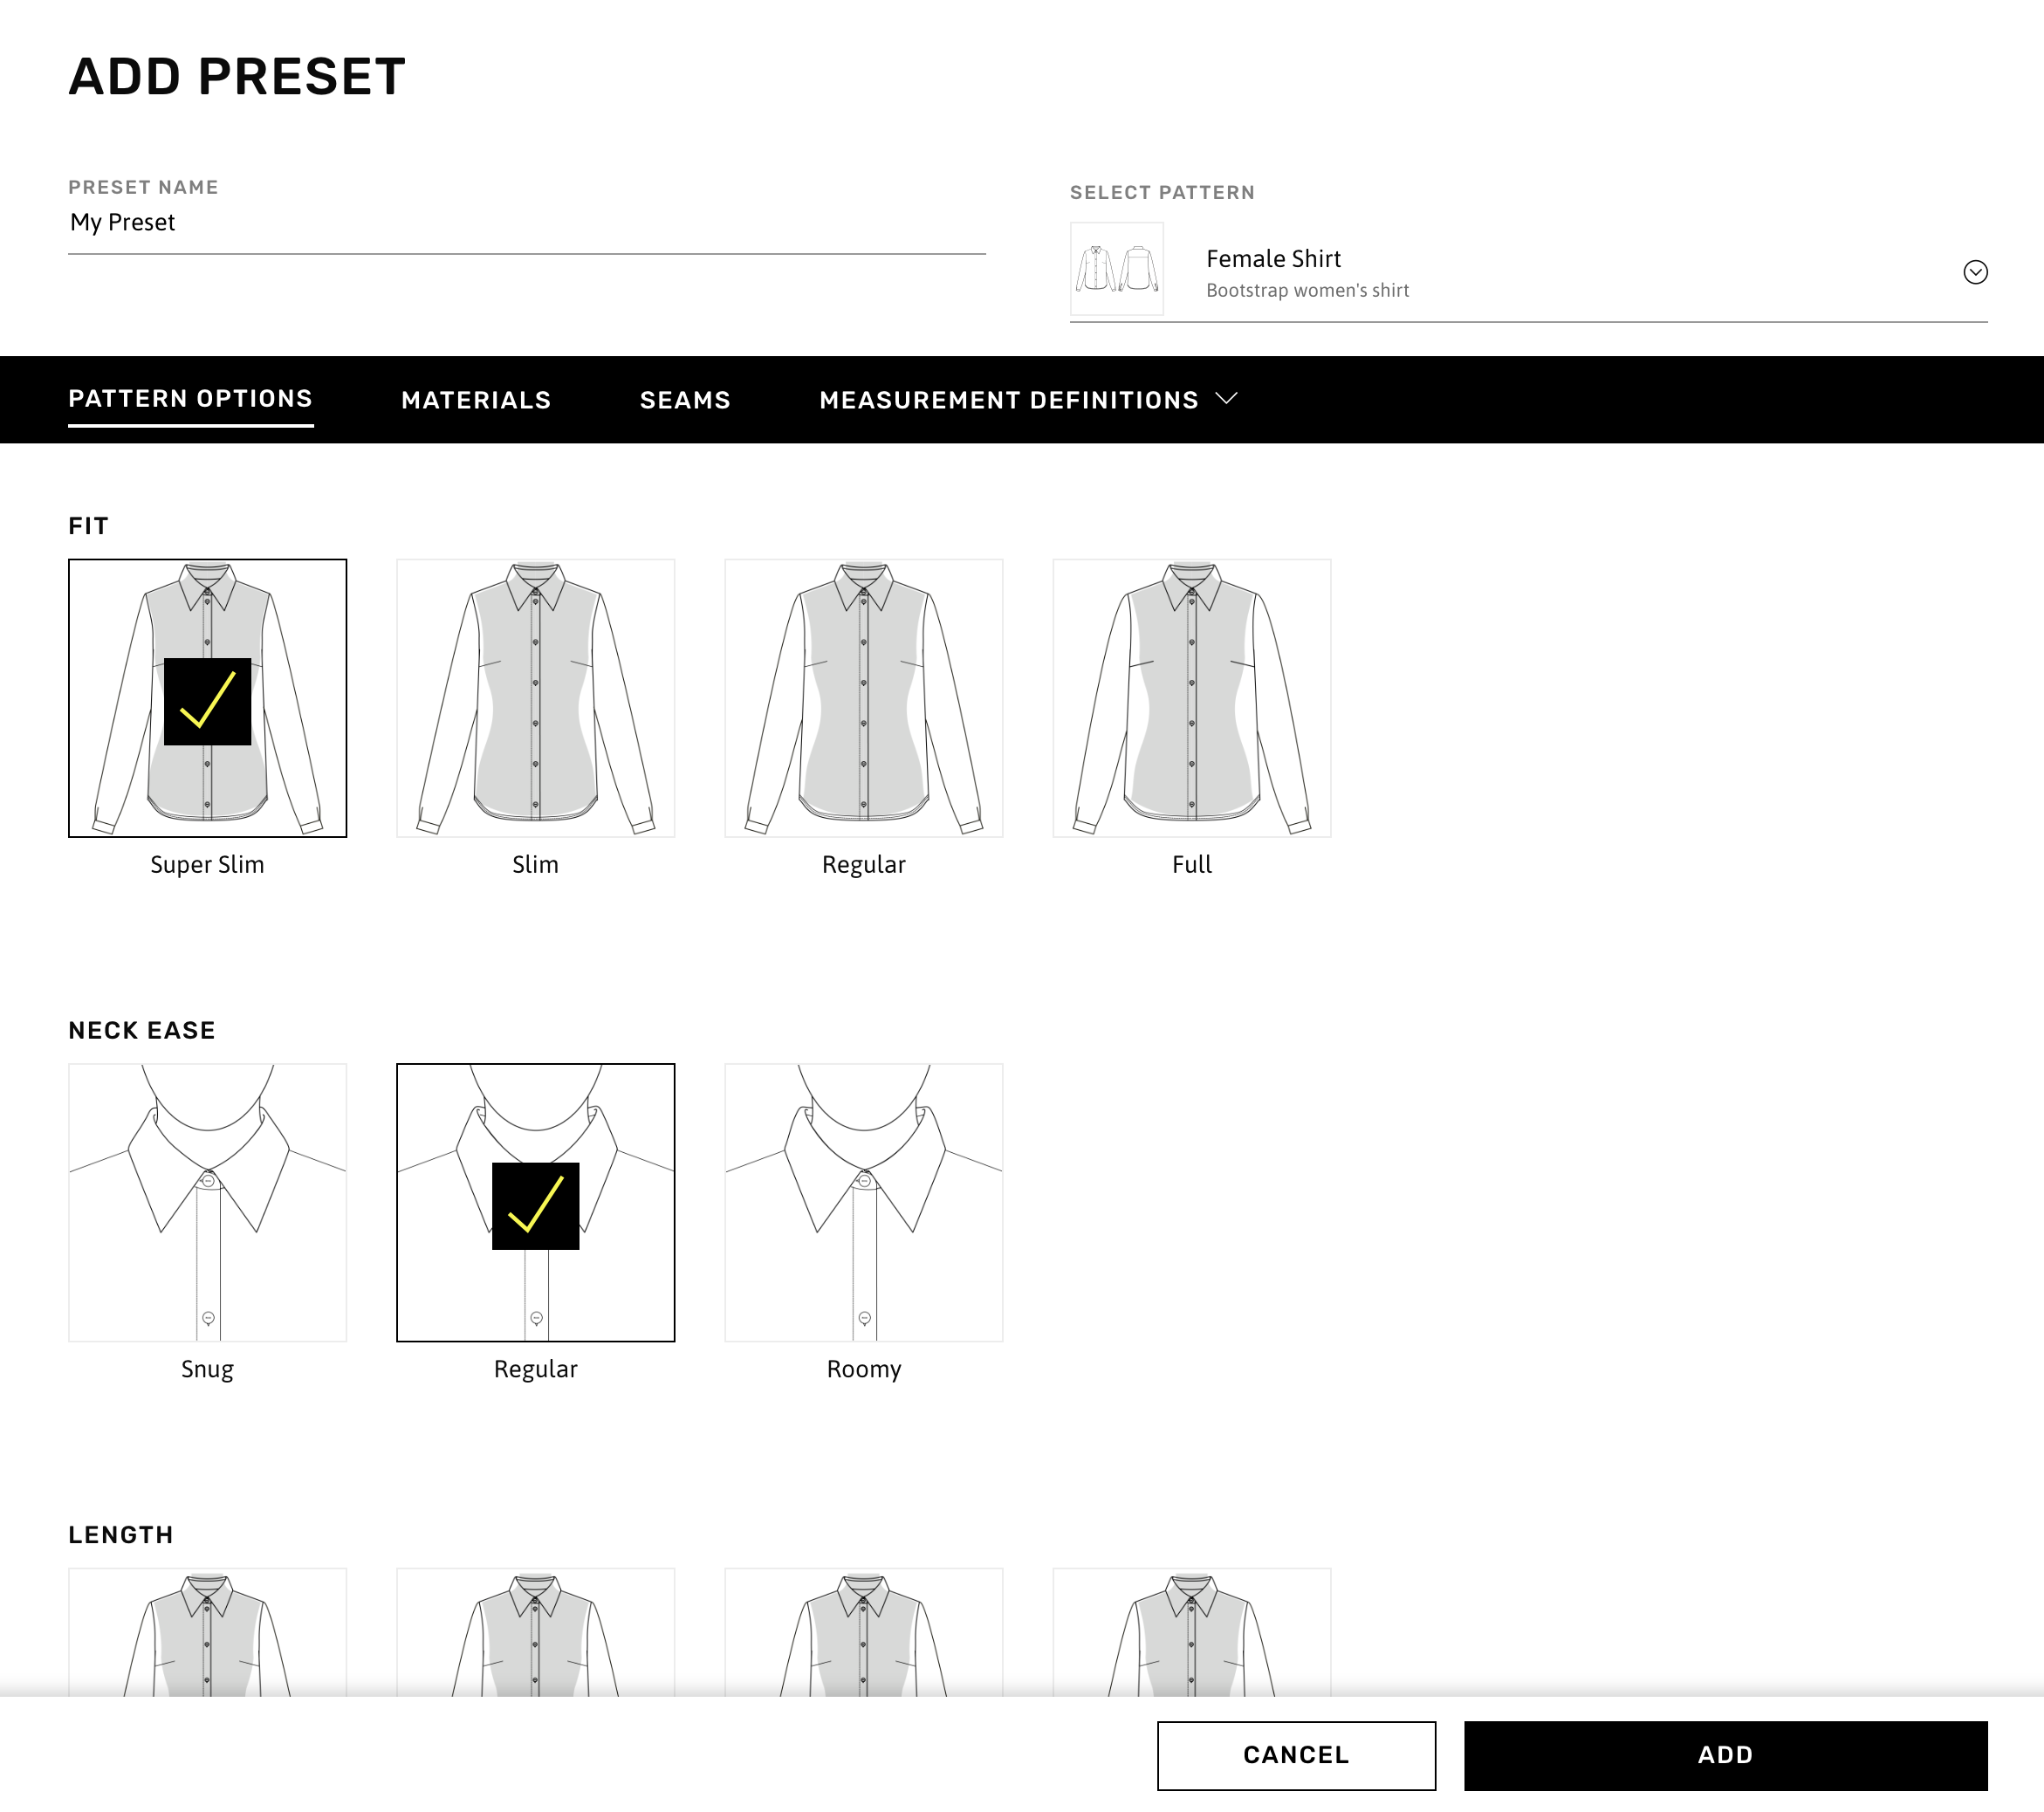
To create a new preset, users must press the Add Preset button. The first step is to assign a name to the preset and select the pattern it will be applied to. In these examples, the Female Shirt will be used.
Once the pattern is selected, the options for that pattern will be loaded. Users can then start choosing the options they want to have pre-selected when they create new drafts. It is not necessary to make selections for all the pattern variants. The same applies to the Materials tab.
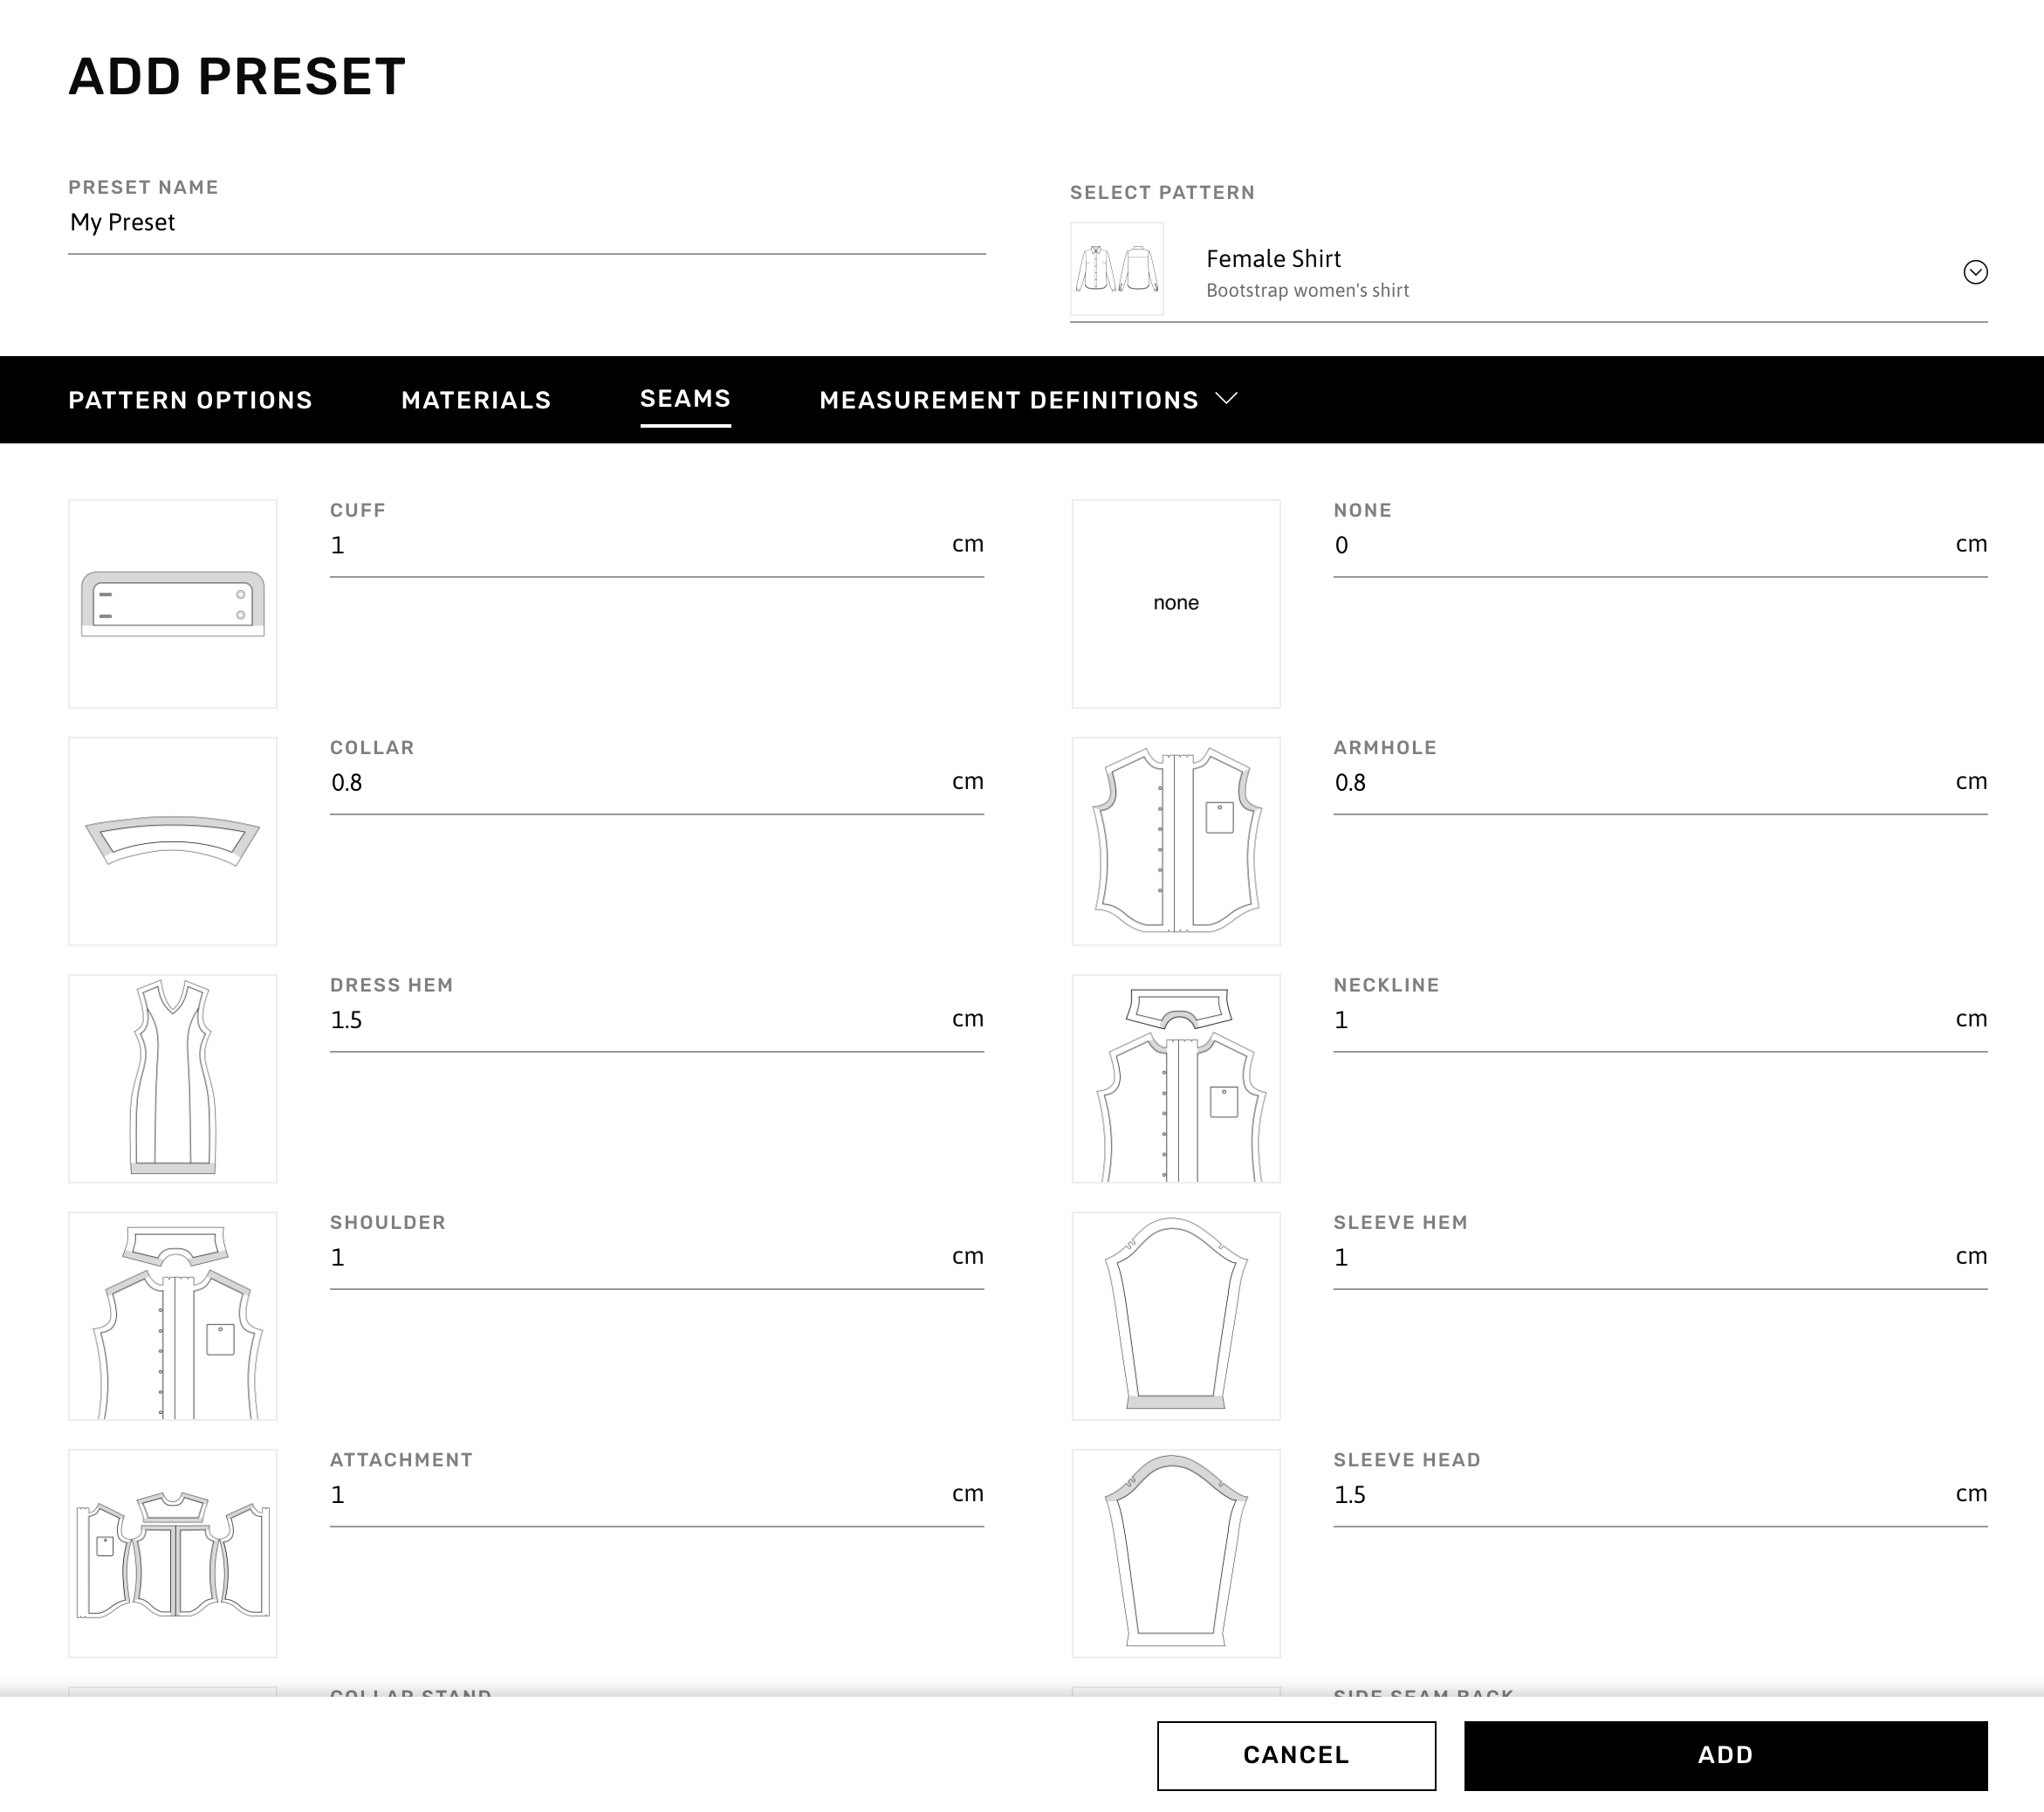
For the Seams tab, users can override the default seam allowances for the pattern.
Lastly, in the Measurement Definitions tab, users can choose the measurements (or types of measurements) that are shown in a measurement profile using that preset. If a measurement is not needed for that profile, the field can be left blank (required fields are marked with an asterisk). In some fields (like Waist, shown below), users can choose a more specific measurement type.
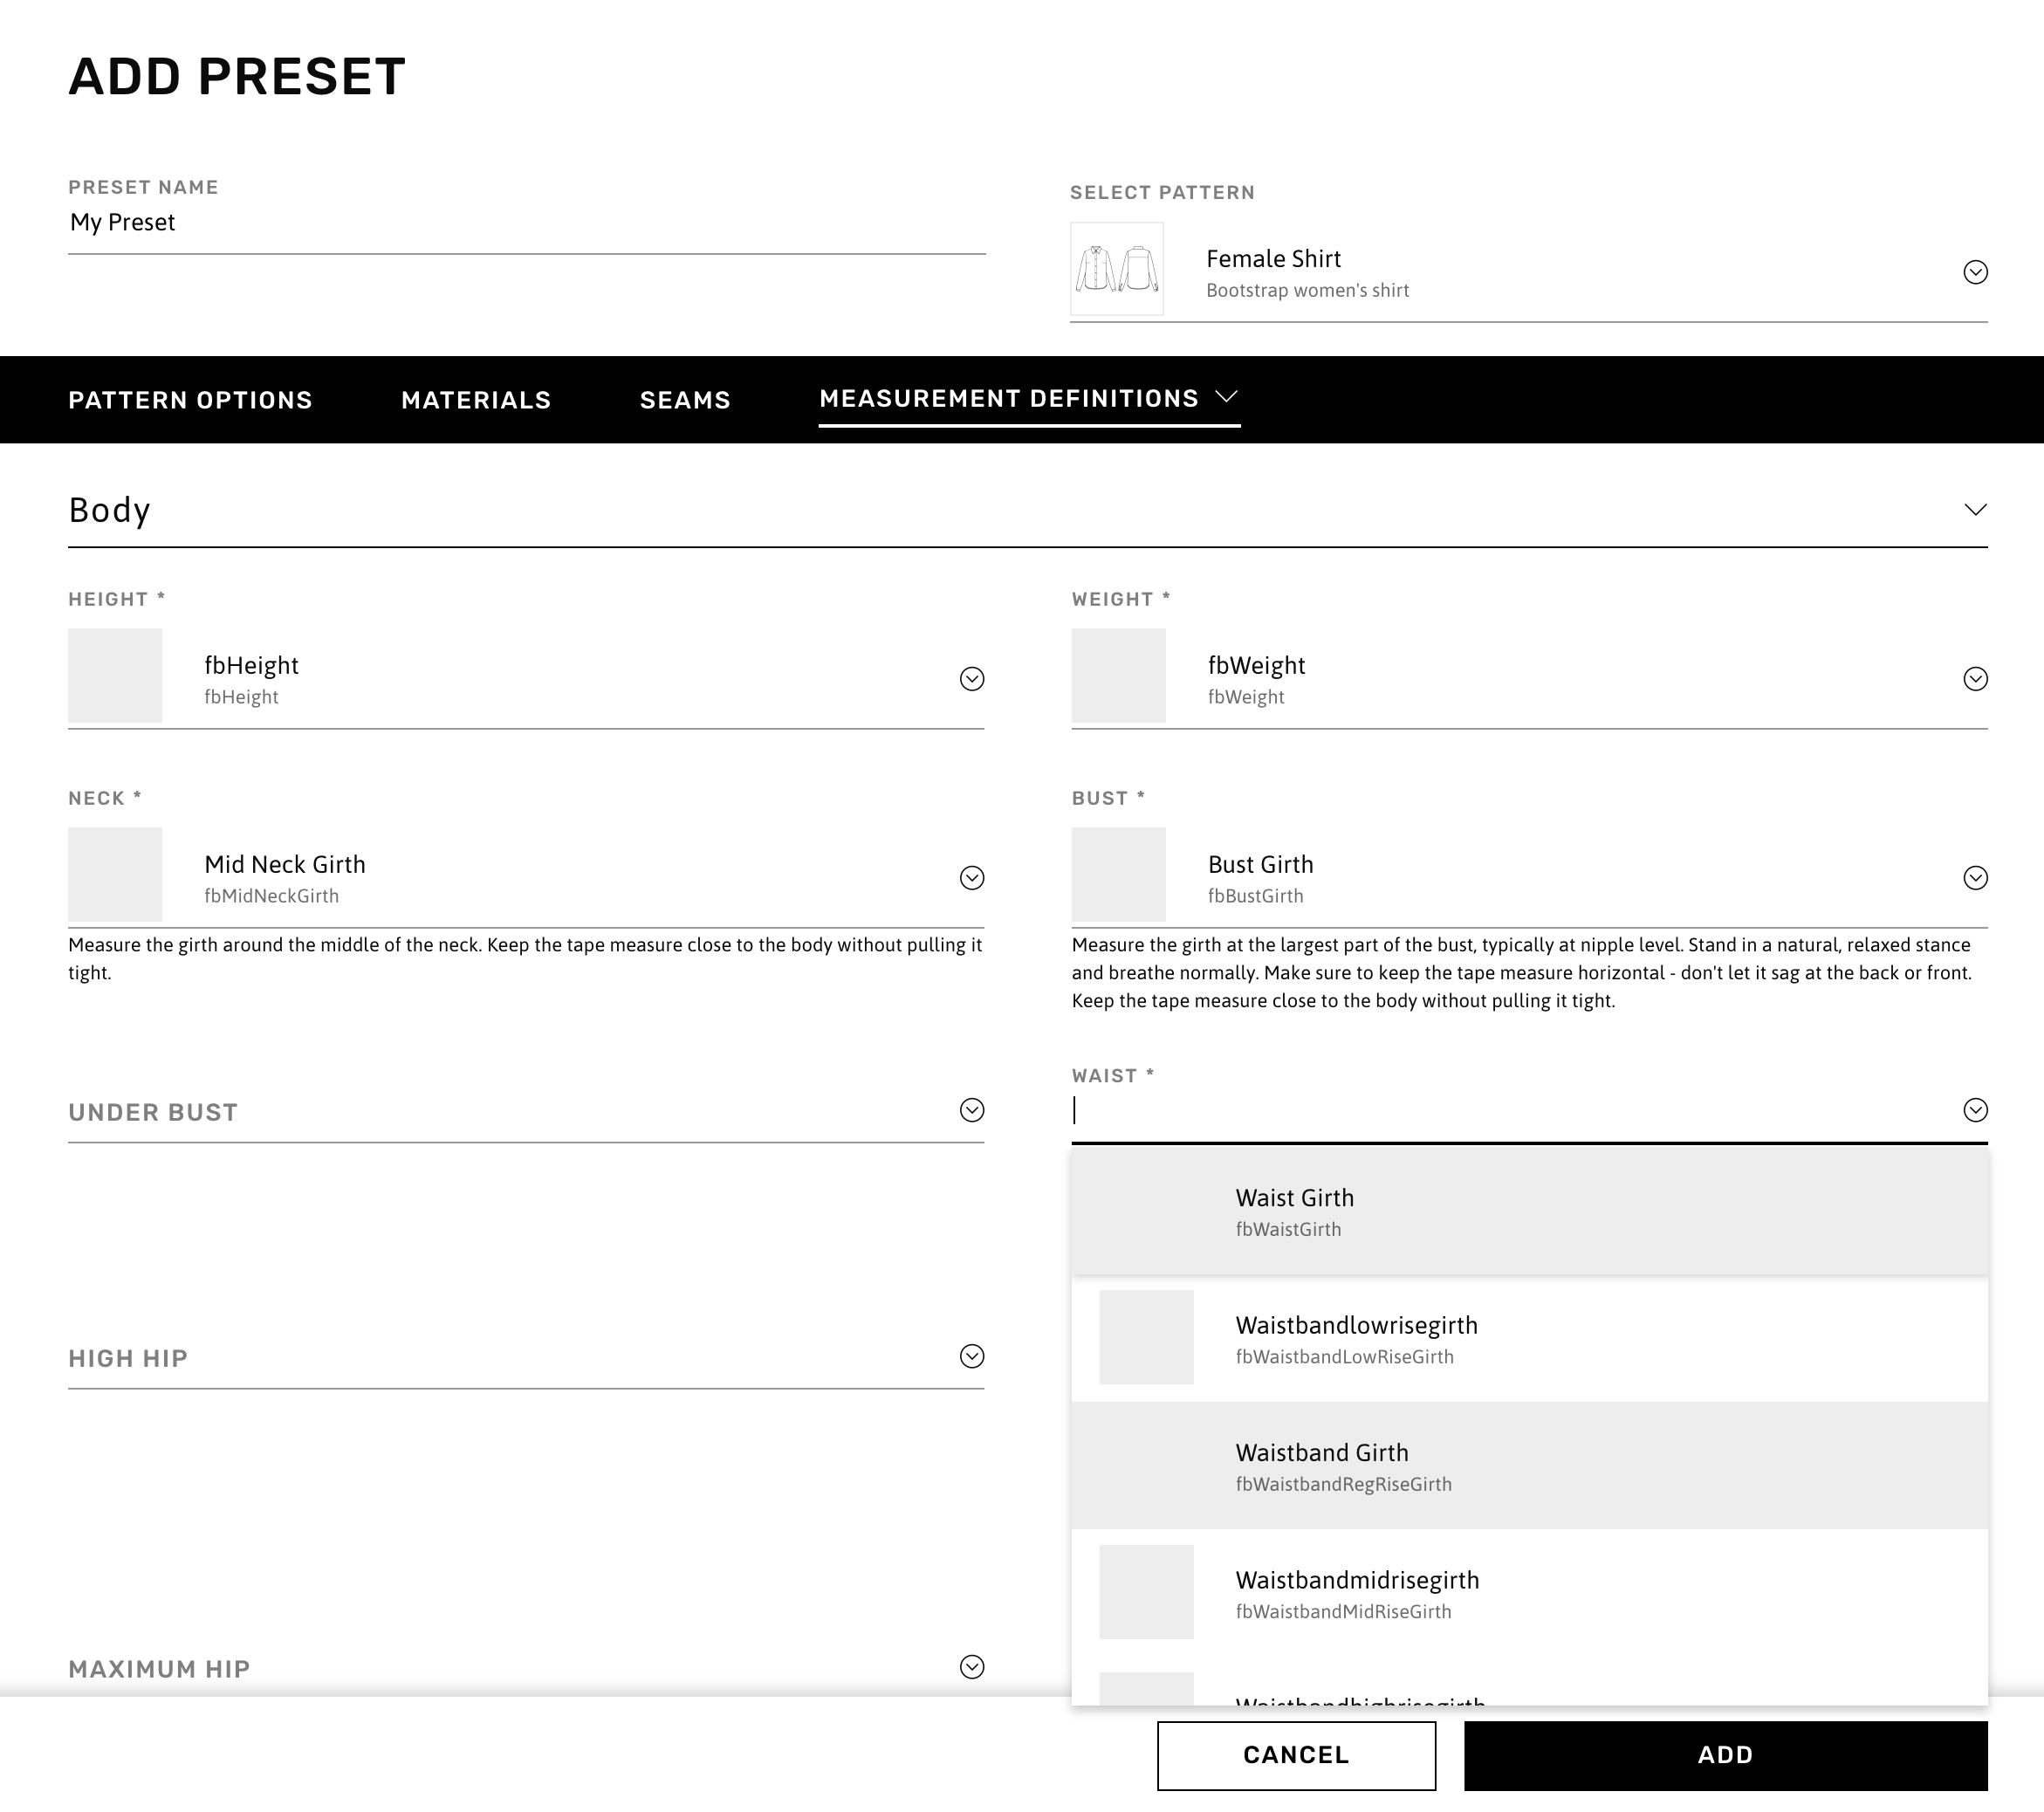
Users can select a set of measurement definitions for both Body and Garment measurements under the same preset. To understand more about these two types of measurement sets, visit the corresponding section under Adding Measurement Profiles.
Once the preset is saved, it will appear under the pattern it was assigned to.
